Kayla wanted a new option for a shirt. We had seen older girls with fringe shirts at camp and other places but had never tried it for ourselves.
We decided to give it a go and jumped right in. It’s so easy, I think you’ll enjoy making one too.
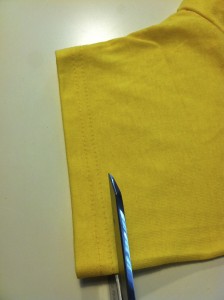
First, cut the hem off of the t-shirt arms. (Nope, I didn’t even measure.)
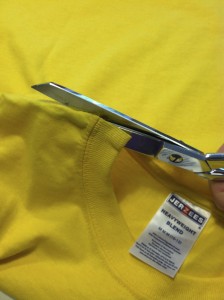
Second, cut the neckline out of the t-shirt. This makes the neck big and it hangs a little bit. Kayla thinks it is so cool to wear this with a tank top and let the neck hang off her shoulder a little.
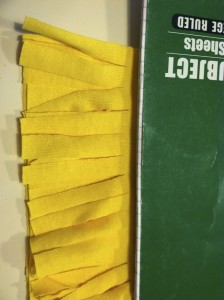
Third, cut strips all along the bottom of the shirt and along the edges of the sleeve. (Again, no measuring. I did use a notebook to keep my cut depth even, but didn’t measure the strips across. They were maybe 1/4 inch.)
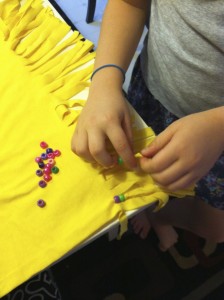
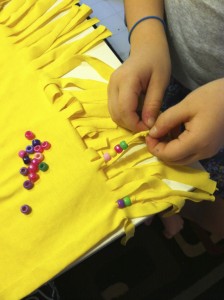
Fourth, decorate your fringe with beads. Kayla placed beads on every fifth piece of fringe, or so. Use your artistic eye. Whatever looks good to you will look great!
Fifth, tie a knot at the end of the fringe with the beads. This keeps the beads from slipping off.
An easy project that can be completed in no time. Kayla was so proud to do all the bead work herself too!

I’d love to see some pictures of your projects too!



 Facebook
 RSS
RSS
Love this! Now I know what to do with all these plastic beads of Anna’s!