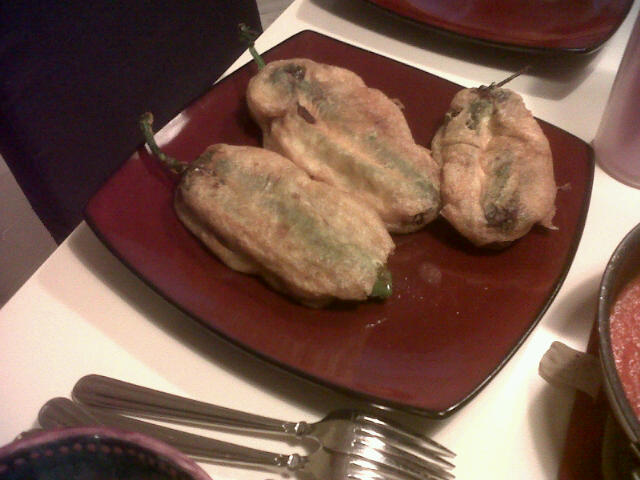
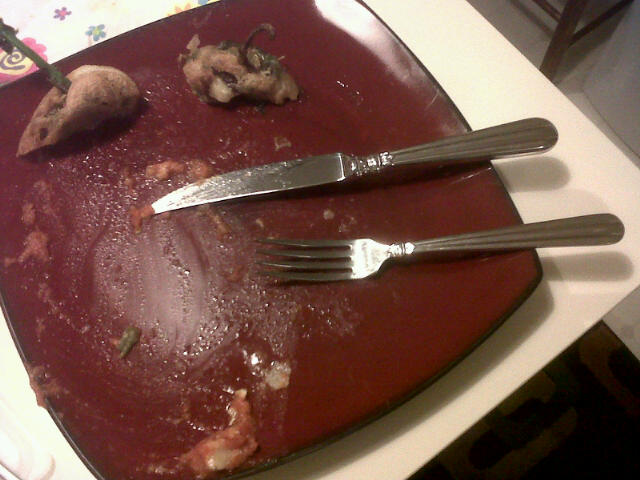
So, for a while now, we have been participating in a local farmers co-op. We have had some amazing fresh foods and were excited to see poblano peppers in our box this week. Chris asked for stuffed chili rellenos this week and so here is our adventure of our first attempt. The recipe took a lot of work (in my opinion) and made a lot of dishes to clean. Maybe you need to start this earlier than 5pm on the day you want to serve it for dinner! We changed a few things (see notes) and will change a few more next time we make this. I wanted to get this down though because we both enjoy the dish and will attempt again when we have the ingredients.
PS. My mom sent this recipe to me courtesy of foodnetwork.com She is going to try it too and I will add her notes when I hear her verdict. =)
Stuffed Poblano Chiles (“Chiles Rellenos”)
![]() Recipe courtesy Marcela Valladolid on FoodNetwork.com
Recipe courtesy Marcela Valladolid on FoodNetwork.com
Ingredients
Sauce:
- 5 red plum tomatoes, cored and coarsely chopped
- 1 garlic clove, minced
- 1/3 cup chopped white onion
- 1 tablespoon olive oil
- Salt and freshly ground black pepper
Chiles:
- 1 1/2 cups Monterrey Jack cheese
- 1 tablespoon dried oregano
- 6 poblano chiles, charred, seeded, and deveined *see Cook’s Note
- 3 egg whites, at room temperature
- 1 egg yolk, at room temperature
- All-purpose flour, for dredging
- Vegetable oil, for frying
Sauce: Put the tomatoes, garlic and onion in a blender. Blend until smooth. In a medium saute pan, heat the oil over medium heat. Add the sauce and simmer for 5 minutes. Season with salt and pepper, to taste.
Chile rellenos: Mix the cheese and oregano in a small bowl. Cut a slit through 1 side of the charred chiles and fill each chile with 1/4 cup of the cheese mixture. Close with toothpicks to hold the filling in place. In a medium bowl, using an electric hand mixer, beat the egg whites on high speed until soft peaks form. Add the egg yolk and continue to beat for about 1 minute.
In a large heavy-bottomed saucepan, pour in enough oil to fill the pan about a third of the way. Heat over medium heat until a deep-frying thermometer inserted in the oil reaches 375 degrees F. (If you don’t have a thermometer a cube of bread will brown in about 3 minutes.) Dredge the filled chiles in flour until fully covered. Shake off any excess flour, then dip the chiles into the egg mixture, until well coated. Fry until golden brown and drain on paper towels.
Arrange the chiles on a serving platter, spoon the sauce on top and serve.
Notes
To char the chiles (or any fresh chile): Put the chiles over a gas flame or underneath the broiler and cook until they are blackened on all sides. Enclose them in a plastic bag and let stand for 10 minutes to steam, which will make them easier to peel. Peel, stem, and seed the chiles. Once peeled, the chiles may be chopped, sliced or stuffed.
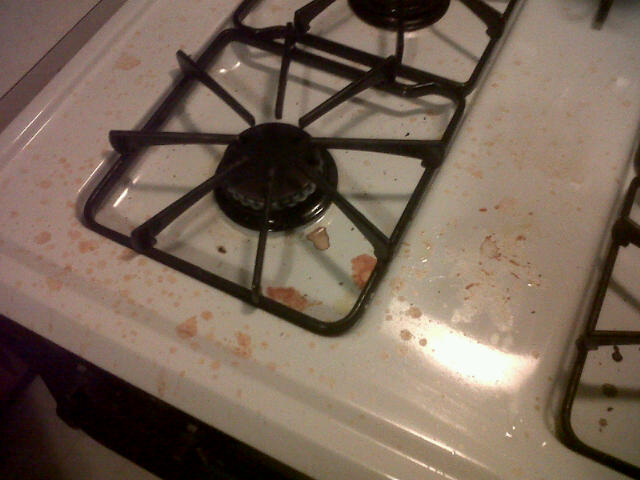
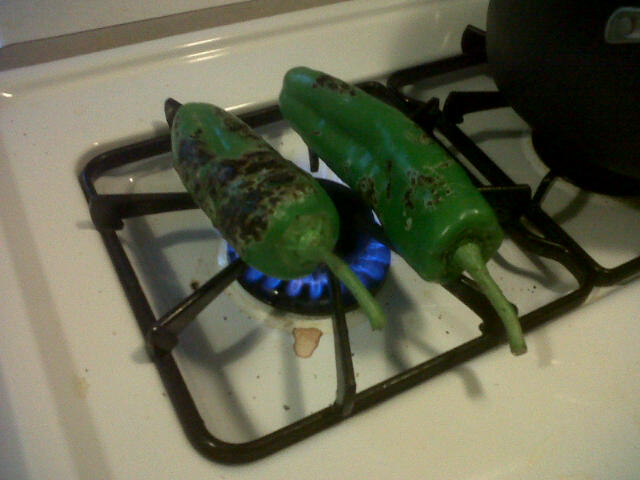 I am not really sure this is what they meant by charing the peppers, but it seemed to work. Kayla thought it was pretty cool and wanted to help. – – Now I am going to have to keep a closer eye on her in the kitchen! It seemed like the oil in the peppers was popping. I stayed right at the stove with some tongs ready to turn and remove the peppers. Because I had trepidation, not all of the pepper was charred and therefore, some of the skin would not peel off. The bottoms and tops of the peppers did not cook as well and were a little crunchy.
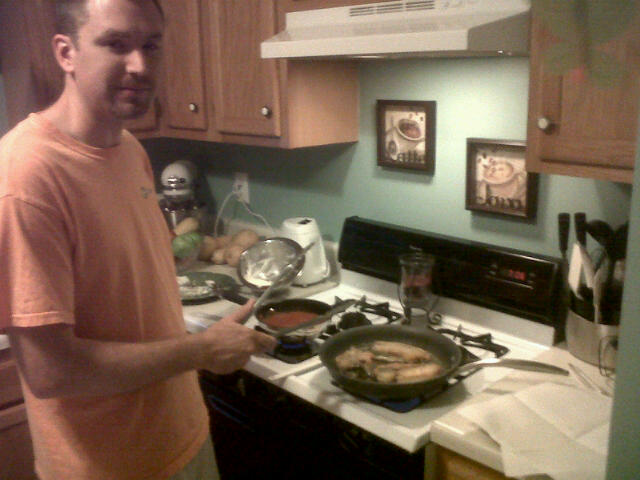 So, Chris made it home before the lengthy process of putting all this together was completed. Poor guy got roped into making his own dinner! We have done the sauce in the food processor and it is now simmering in the low pot. The sauce turned out a little bland tasting. I am not sure if the sauce traditionally is supposed to be bland to let the peppers shine, but we were expecting something a little more zippy. Next time, we will have more zip! The process of dredging the peppers is not hard, once you have beaten the egg whites. Chris is frying the peppers. (He’s a great fryer!) It took a lot of oil to fry the peppers so be sure to have a container to dispose of the oil.




 Facebook
 RSS
RSS